
To change a tire, park on firm, level ground away from traffic, secure the vehicle, loosen the wheel nuts, and lift it at the manufacturer’s approved jack point. Fit a suitable spare, tighten its fasteners in the specified cross pattern, and finish with the correct torque before driving.
The difficult part is often deciding whether the location is safe. A narrow highway shoulder, soft verge, damaged wheel, or missing equipment is a reason to call for help rather than begin.
This guide covers swapping a complete wheel on a passenger vehicle. Removing a tire from its rim requires specialist equipment. In the UK, Australia, and India, “tyre” is the usual spelling; the practical checks are the same.
Key Takeaways
- The owner’s manual controls jack points, wheel compatibility, tightening torque, and special procedures.
- Never place any part of your body beneath a vehicle supported only by its emergency jack.
- Loosen fasteners before lifting; tighten progressively across the wheel rather than around it.
- A temporary spare and a run-flat tire have different restrictions.
- Arrange a torque check promptly if it could not be verified, then follow the specified recheck interval.
Decide whether to change the tire
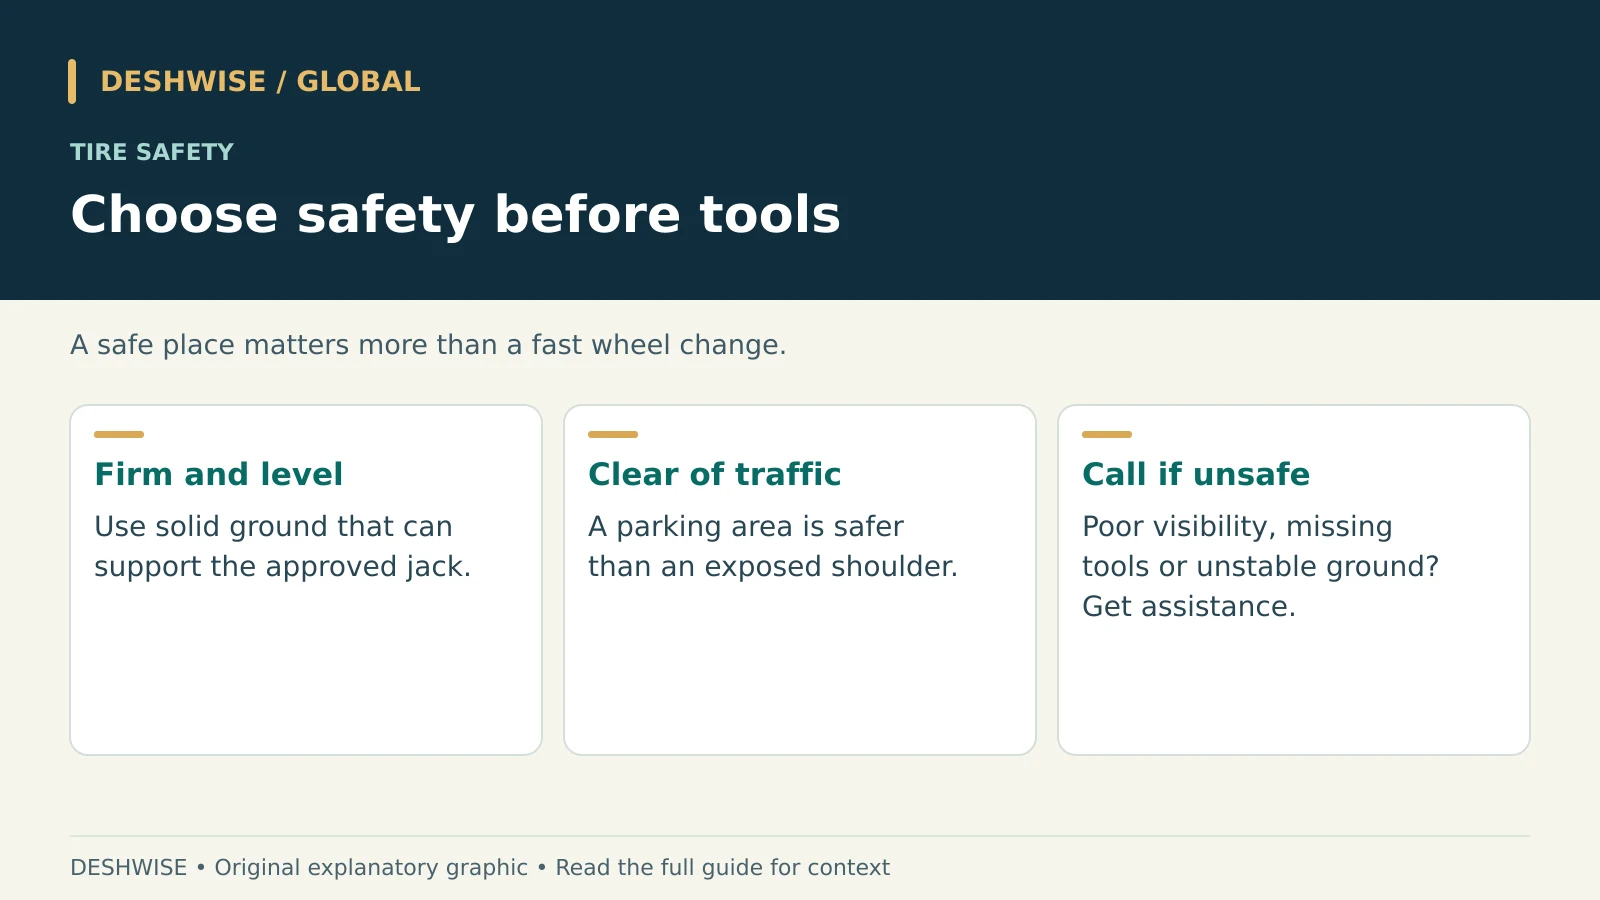
If a tire deflates while moving, maintain control, ease off the accelerator, and avoid abrupt steering or braking. Look for a place of relative safety without continuing a long journey on a conventional flat tire. Use hazard lights when appropriate.
Once stopped, assess traffic, ground conditions, visibility, weather, and the space needed to work. A parking area is very different from a shoulder beside fast vehicles. Hazard lights do not create a protective barrier.
Call roadside assistance or request recovery if:
- The car is in or close to a live traffic lane.
- You would have to kneel on the traffic-facing side without safe clearance.
- The ground slopes, shifts, floods, or cannot support the jack.
- The jack, locking-wheel-nut key, suitable spare, or correct wrench is missing.
- The wheel is damaged, a fastener is broken, or you cannot lift the wheel safely.
- Your vehicle manual prohibits the procedure or requires equipment you do not have.
Passenger arrangements depend on the location. If safe, move people away from traffic and the working area. Never ask someone to steady a raised vehicle. If exiting would expose occupants to greater danger, follow local emergency guidance and the dispatcher’s instructions.
Regional rules matter. The UK Highway Code says not to attempt repairs on a motorway and prohibits placing a warning triangle there. On other roads, use warning equipment only where legal and safe. US state rules, Canadian provincial guidance, Australian state rules, and Indian expressway arrangements differ. Follow the relevant road authority rather than a universal roadside-distance rule.
Gather your tire changing tools
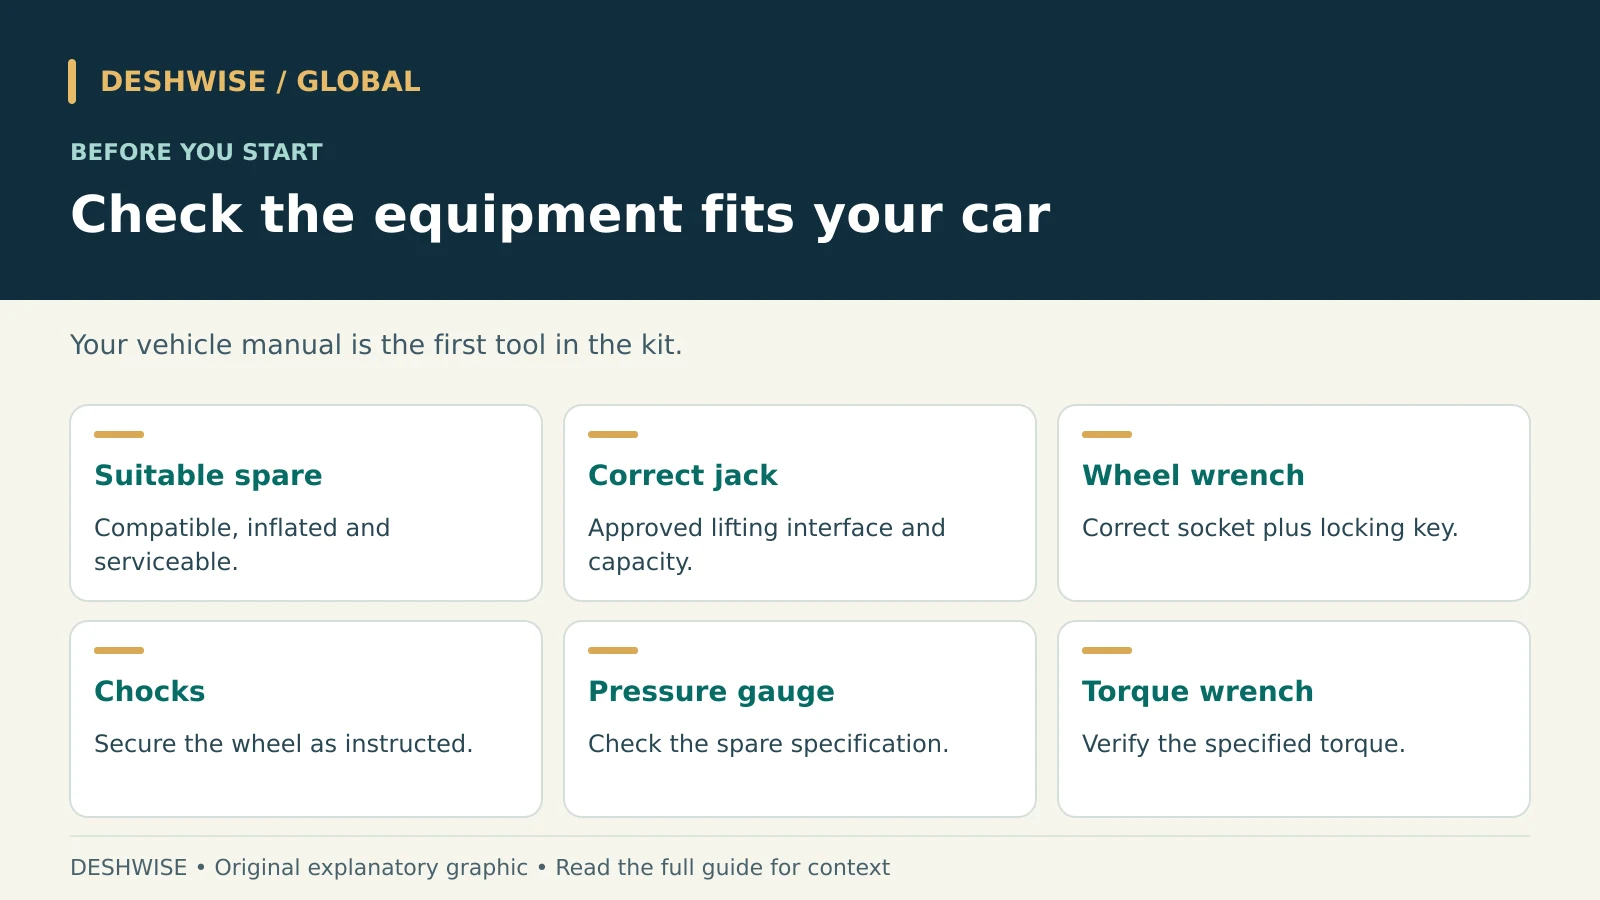
| Tool or item | Why it matters |
|---|---|
| Compatible, serviceable spare wheel | Must fit the vehicle and comply with its restrictions |
| Correct vehicle jack and required adapter | Supports the vehicle at its designated emergency lifting point |
| Correct-size wheel wrench or socket | Fits the nuts or bolts without slipping |
| Locking-wheel-nut key, if fitted | Unlocks the security fastener |
| Wheel chocks | Help prevent rolling |
| Owner’s manual | Identifies lifting points and the approved procedure |
| Pressure gauge and suitable inflator | Confirm the spare has the required pressure |
| Torque wrench with the correct socket | Verifies tightening against the specification |
| Gloves, light and visibility equipment | Improve grip and visibility where safe to use |
Some cars have a sealant kit instead of a spare. Others require a collapsible spare to be inflated or have special storage-release mechanisms. Check before dismantling anything.
A jack that came with another car is not automatically suitable. Matching the lifting interface and specified capacity matters. A random brick or unstable block is not a substitute for firm ground or approved equipment.
Change the wheel in nine steps
1. Secure the vehicle
Stop on solid, level ground, switch off the engine, apply the parking brake, and select Park on an automatic. For a manual transmission, select the gear instructed by the handbook. Keep the keys controlled so nobody starts or moves the car.
Chock the wheel diagonally opposite the flat, following the manual. Make sure nobody remains inside while you lift. Avoid unloading heavy cargo in a way that puts people near traffic.
Some vehicles require a suspension or jack mode. Electric vehicles may have protected battery areas and model-specific lifting adapters. Check the procedure before positioning the jack; do not assume the battery shield is a lifting surface.
2. Check the spare before removing the damaged wheel
Confirm that the spare is the approved type, free from obvious damage, and inflated according to its label and handbook. Compact spares can require a different pressure from the normal road wheels.
Do not assume a rarely used spare is ready. Read its speed, load, distance, and axle-position restrictions. Some vehicles require an approved wheel-transfer procedure because a compact spare cannot go on a particular axle. If you cannot follow that procedure safely, arrange assistance.
3. Expose and loosen the fasteners
Remove the wheel cover or fastener caps as instructed. Fit the locking key if necessary. While the wheel is still on the ground, loosen each nut or bolt slightly—enough to break its initial resistance without removing it.
Use the correct socket fully seated on the fastener. Keep controlled pressure and a stable stance. Do not jump on the wrench, add improvised extensions, or use the jack to force a tool. If a fastener will not release, stop before rounding it or destabilizing the vehicle.
Most passenger-car wheel fasteners loosen counterclockwise when viewed from outside, but the handbook takes priority for unusual designs.
4. Identify the approved car jack point
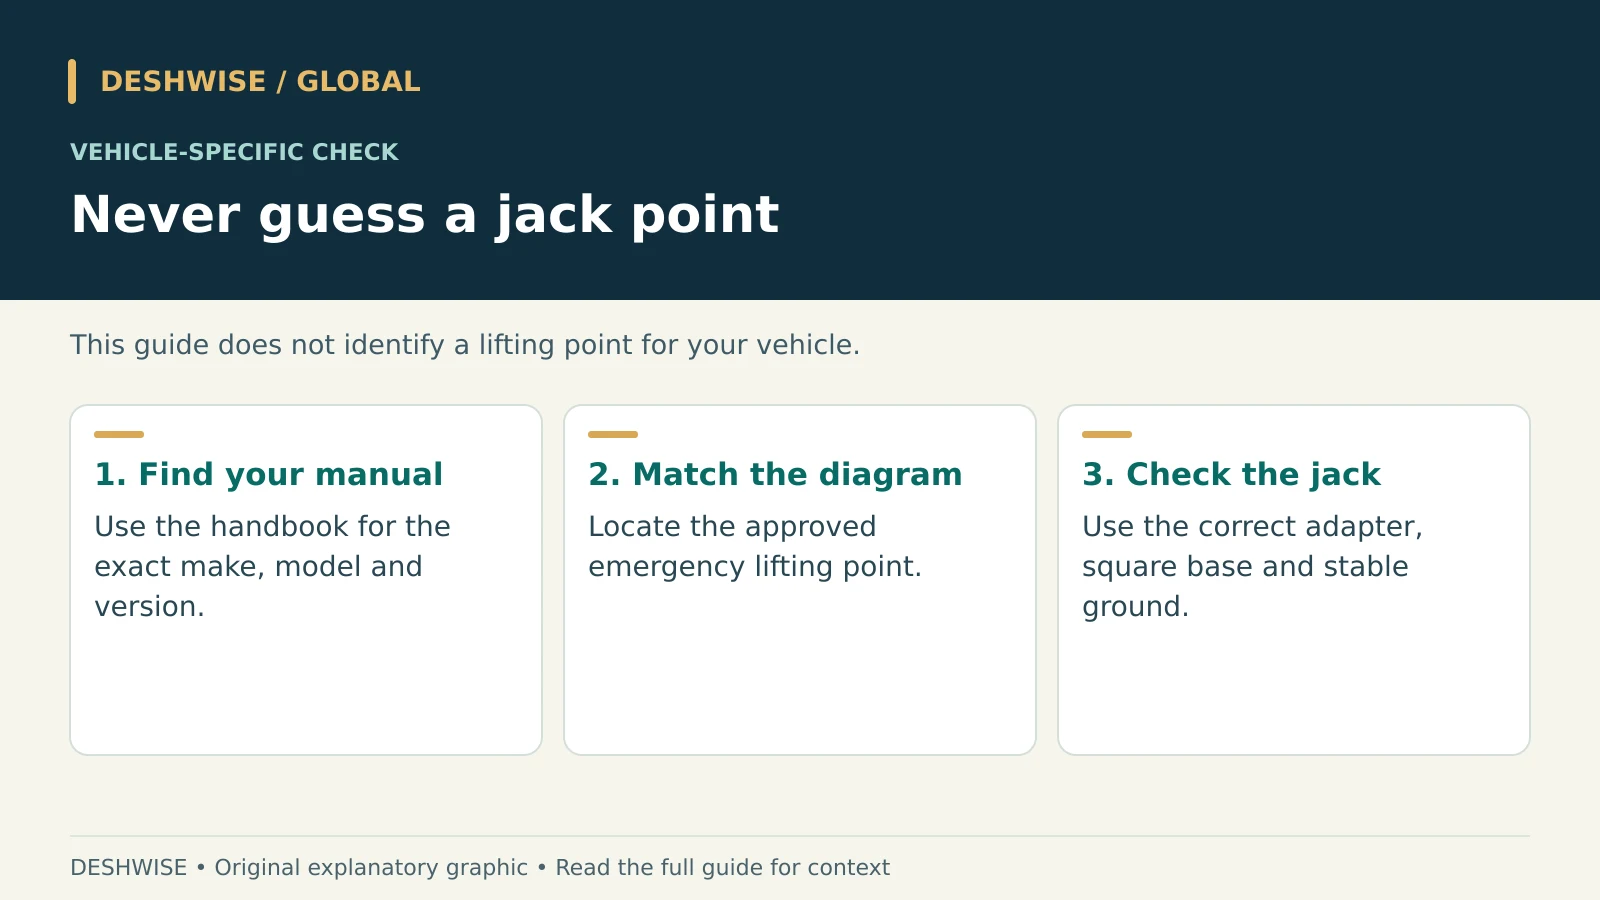
Find the diagram for the affected corner. Approved points may be reinforced sill sections, marked pads, or specific chassis locations. The visible edge of the body is not necessarily strong enough.
Position the jack squarely on stable ground, with its head seated correctly in the approved point. Keep its base flat. Do not lift under plastic trim, the floorpan, exhaust, suspension components, or an EV battery unless the manufacturer explicitly identifies that location.
If the manual is unavailable and you cannot positively identify the point, call for help. Guessing here can damage the car or cause it to fall.
5. Raise only as much as needed
Operate the jack slowly until the damaged wheel clears the ground and there is sufficient room for the inflated spare. Watch the base, lifting point, and vehicle throughout.
If anything leans, slips, bends, or sinks, stop. Lower the vehicle carefully if safe, then reassess. Never crawl underneath, reach beneath the car, or perform other repairs while it rests on an emergency jack.
6. Remove the flat wheel
Remove the loosened fasteners and keep them clean in a container. Support the wheel with both hands and slide it off without pulling the vehicle sideways.
Some vehicles use wheel bolts rather than fixed studs, making alignment harder. A manufacturer-approved alignment tool may help. If a wheel is stuck to the hub, do not kick it or rock the raised car. Lower and seek assistance.
Check the visible mating surfaces for loose dirt or obstruction without reaching underneath. Significant corrosion, damaged threads, or a cracked wheel needs professional attention.
7. Mount the spare and hand-start every fastener
Align the spare with the hub or studs and hold it flush. Use the fasteners specified for that wheel: a different seat shape or length can be unsafe, even if the thread fits.
Start every nut or bolt by hand. If one will not turn smoothly, back it out and check alignment. Forcing it with a wrench can cross-thread the fastener.
Keep threads and seating surfaces in the condition required by the manufacturer. Do not add oil, grease, or anti-seize unless the vehicle’s instructions explicitly call for it; lubrication can change the relationship between applied torque and clamping force.
8. Tighten progressively in the correct pattern
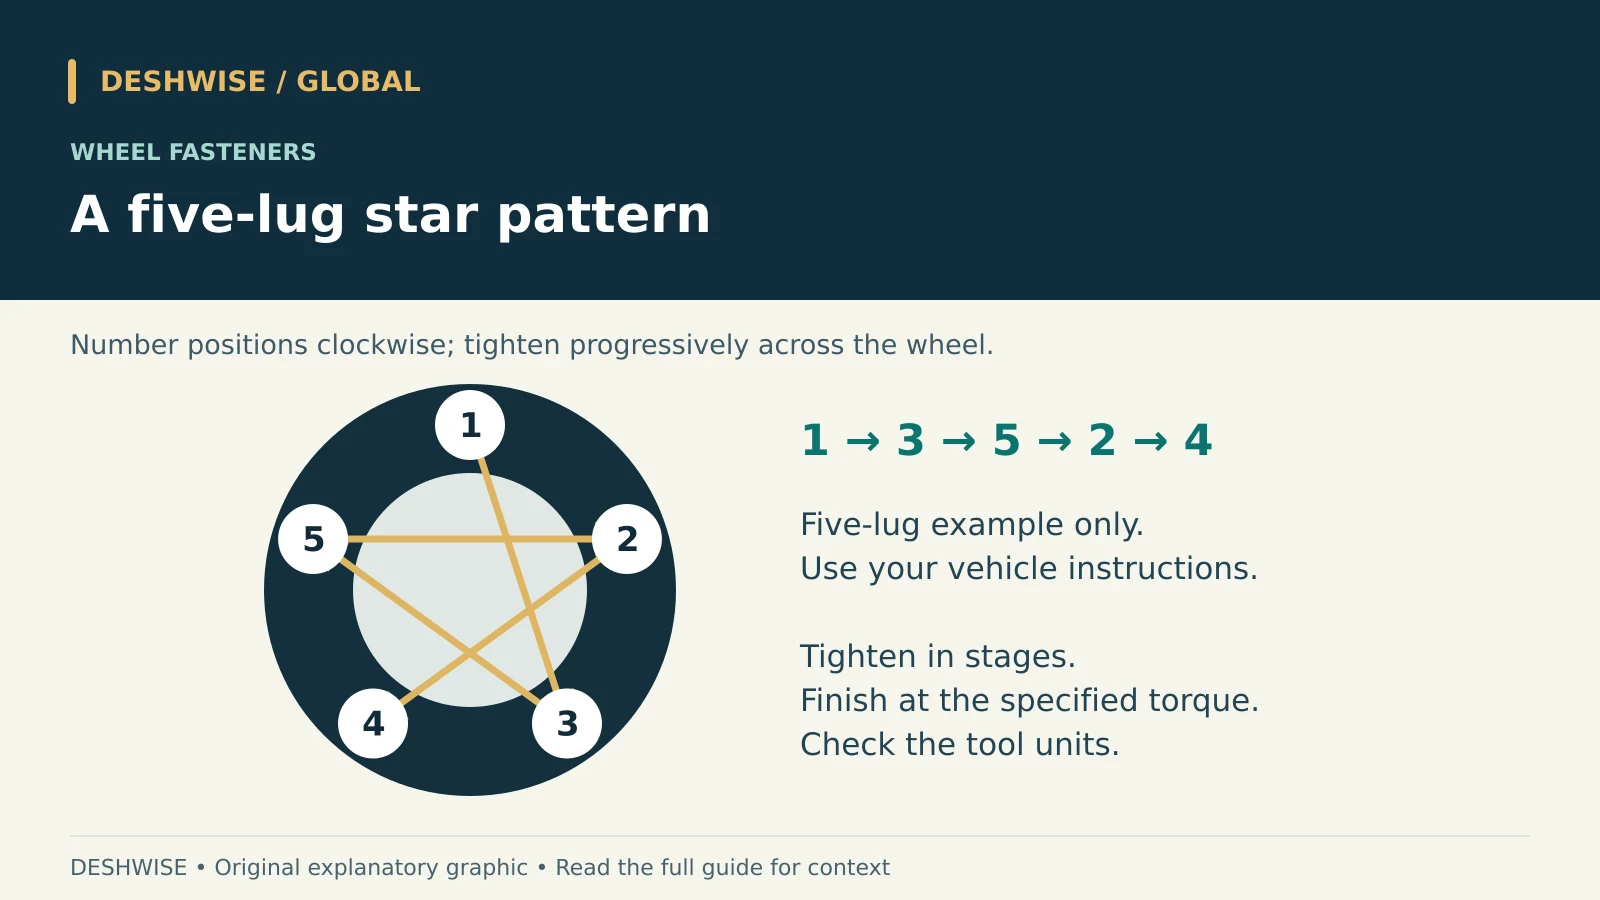
Lightly snug the fasteners in a cross or star pattern while the wheel is supported. Avoid force that rocks the vehicle. Lower it as directed so the tire makes enough contact to resist turning, then complete tightening with the specified procedure.
For a typical five-fastener wheel, number the positions clockwise and work 1–3–5–2–4. Four-fastener wheels generally use opposite pairs. Six-fastener designs also use a crossing sequence; follow the manual rather than copying a five-lug diagram.
Set a suitable torque wrench to the vehicle’s specified wheel-fastener torque. Confirm whether the setting is in N·m or lb-ft; those numbers are not interchangeable. Apply force smoothly using the tool’s instructions and stop at its indication. Repeatedly clicking harder does not improve accuracy.
There is no safe universal wheel nut torque. Values depend on the vehicle, wheel, and fastener arrangement. An impact wrench or “as tight as possible” is not a substitute for verification. If you cannot verify torque, obtain professional assistance or a prompt check before further travel; do not assume an unverified wheel is safe for highway use.
9. Lower, pack and make a final inspection
Lower completely and remove the jack. Refit covers only where compatible with the spare. Secure the damaged wheel, tools, and locking key so they cannot move around the cabin.
Check the spare’s pressure, seating, and restrictions again. Remove the chocks only when ready to move. If anything seems wrong, stay stopped and contact assistance.
Understand spare vs run-flat tires
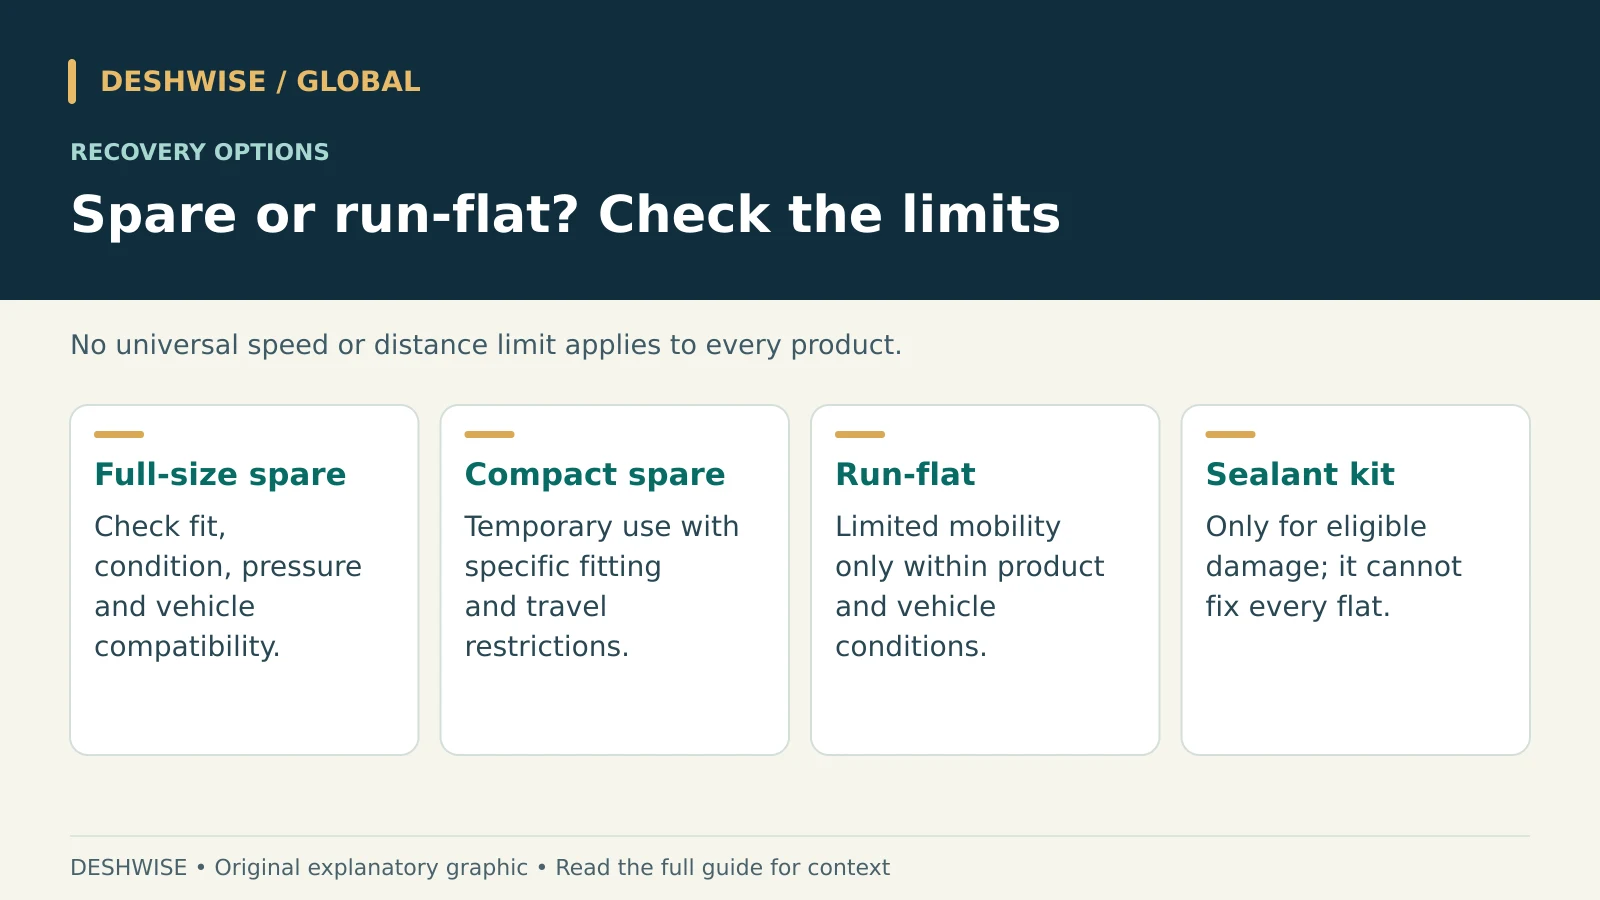
| Type | What it does | Main limitation |
|---|---|---|
| Full-size matching spare | Replaces a road wheel if approved and serviceable | Compatibility, condition and vehicle instructions still matter |
| Compact temporary spare | Provides restricted temporary mobility | Follow its exact speed, distance, load and axle restrictions |
| Run-flat tire | May allow limited travel after pressure loss | Only within the tire and vehicle makers’ conditions |
| Sealant and compressor kit | May temporarily address eligible punctures | Cannot solve every puncture, sidewall injury or wheel failure |
Run-flat does not mean damage-proof. For example, Bridgestone describes some run-flat products as allowing up to 50 miles at up to 50 mph, approximately 80 km at 80 km/h, under specified conditions. That is an example, not permission for every tire. Check your exact product and stop if damage or handling makes continued travel unsafe.
A compact spare also has no universal journey allowance. Use it to reach appropriate service within its restrictions, rather than complete a planned road trip. Have the original tire inspected internally by a professional before deciding whether repair is possible.
Recheck torque and inspect the repair
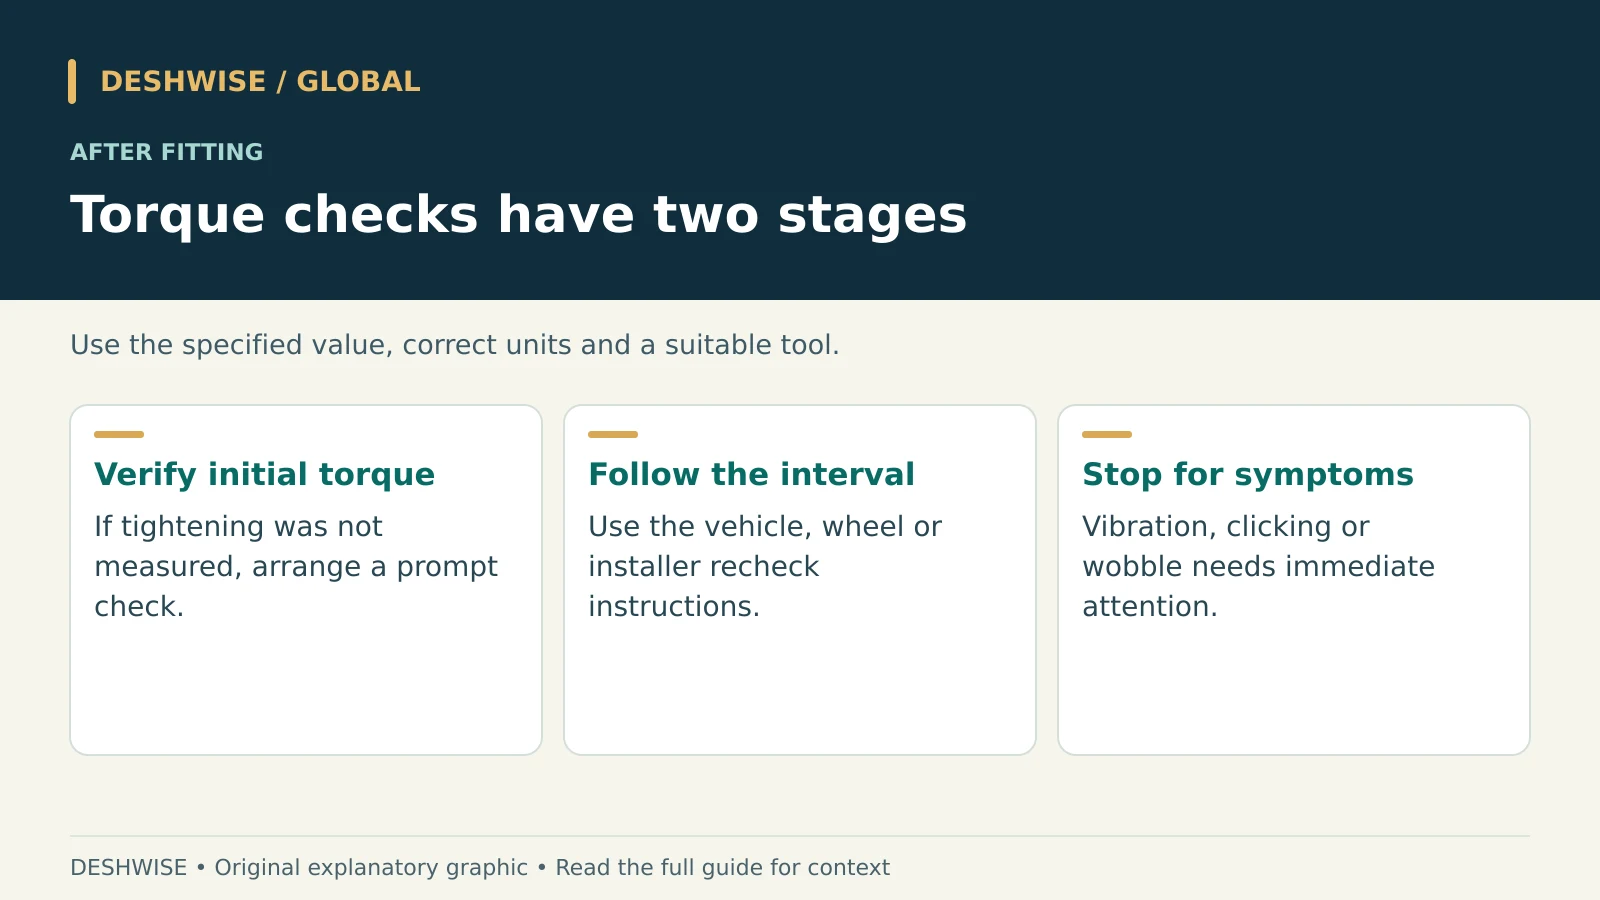
If roadside tightening was not measured, get the torque verified promptly. This first verification is separate from a later post-fitting recheck.
Follow the vehicle, wheel, and service provider’s instructions for rechecking after driving. Continental discusses checks around the first 50 km, roughly 30 miles, and settling over the first 50–100 km. Do not apply that interval blindly where your manufacturer specifies something different.
If a temporary spare’s allowed journey is shorter, seek service before reaching that limit. Never keep driving merely to reach a torque-check mileage. New vibration, clicking, wobbling, pulling, or unusual noise means stop safely and seek help immediately.
Troubleshoot common problems
| Problem | Appropriate response |
|---|---|
| Missing security key | Contact assistance or a qualified wheel specialist |
| Nut spins without tightening | Suspect thread damage; do not drive on it |
| Spare catches a brake component | Stop; the wheel may be incompatible |
| Jack starts leaning | Stop lifting and lower safely if possible |
| Warning light remains on | Check pressure and the model-specific monitoring procedure |
| Wrench slips repeatedly | Stop before damaging the fastener or injuring yourself |
Do not reset a tire-pressure warning simply to remove the light. Temporary spares may behave differently with monitoring systems, but the warning still requires understanding rather than dismissal.
Make the next flat easier
Practise locating your equipment and identifying jack points at home without lifting the car unnecessarily. Keep the locking key accessible, check spare pressure during routine maintenance, and save your roadside provider’s contact details.
After a real flat, replace missing supplies and ask the repairer whether the tire, wheel, or fasteners need further work. For more practical preparation, explore DESHWISE Global’s everyday safety and budgeting guides.
Frequently asked questions
Can I change a tire on a highway shoulder?
Only where lawful and genuinely safe. A narrow shoulder, traffic-facing wheel, or poor visibility warrants roadside assistance. Do not attempt motorway repairs where local guidance prohibits them.
How do I find my car’s jack points?
Use the owner’s manual diagram for your exact model. Bodywork that looks strong is not proof of an approved lifting point.
Should I loosen lug nuts before lifting?
Yes, initially loosen them while the wheel is grounded, following the manual. Do not remove them fully until the wheel is raised safely.
What is the correct lug nut torque?
Use the vehicle and wheel manufacturer’s specification in the correct units. There is no single torque suitable for every passenger car.
Can I drive normally on a compact spare?
No. Follow its speed, distance, load, and fitting restrictions and arrange proper tire service promptly.
When should I recheck lug nut torque?
Get unverified tightening checked promptly, then follow the manufacturer or installer’s post-fitting interval. Stop sooner if there is vibration, noise, or movement.
Can a run-flat tire always be repaired?
No. Repairability depends on the manufacturer’s policy, damage, and operation after pressure loss. A qualified technician must assess it.
Sources and further reading
Reference pages checked during preparation on 17 October 2026. Follow current manufacturer instructions and local professional guidance where relevant.
- Michelin: How to change a car tire — general wheel-change sequence and torque verification. Where generic advice conflicts with the vehicle handbook, use the handbook.
- Michelin: Fitting tyres — stable ground, securing the vehicle and professional fitting.
- UK Highway Code: Breakdowns and incidents — motorway safety and warning-triangle restrictions.
- UK Highway Code: Vehicle maintenance, safety and security — safe wheel-change decision.
- Continental: Retorquing wheels — post-fitting settling and torque checks.
- Bridgestone: Run-flat tires — product-dependent extended-mobility limits.