Here is how to change oil safely: drain the old engine oil into a suitable pan, replace the filter as required, reinstall the drain plug correctly, and refill with the oil your vehicle manufacturer specifies. Then check the level and inspect for leaks before driving or riding.
Quick Answer
- Confirm the exact engine, oil specification, refill capacity, and tightening instructions first.
- Never get beneath a vehicle supported only by a jack.
- Fit the correct filter and replace specified seals or washers.
- Refill gradually, then check the level using the manual's procedure.
- Take used oil and filters to an approved collection point.
1. Decide whether an oil change is a suitable DIY job
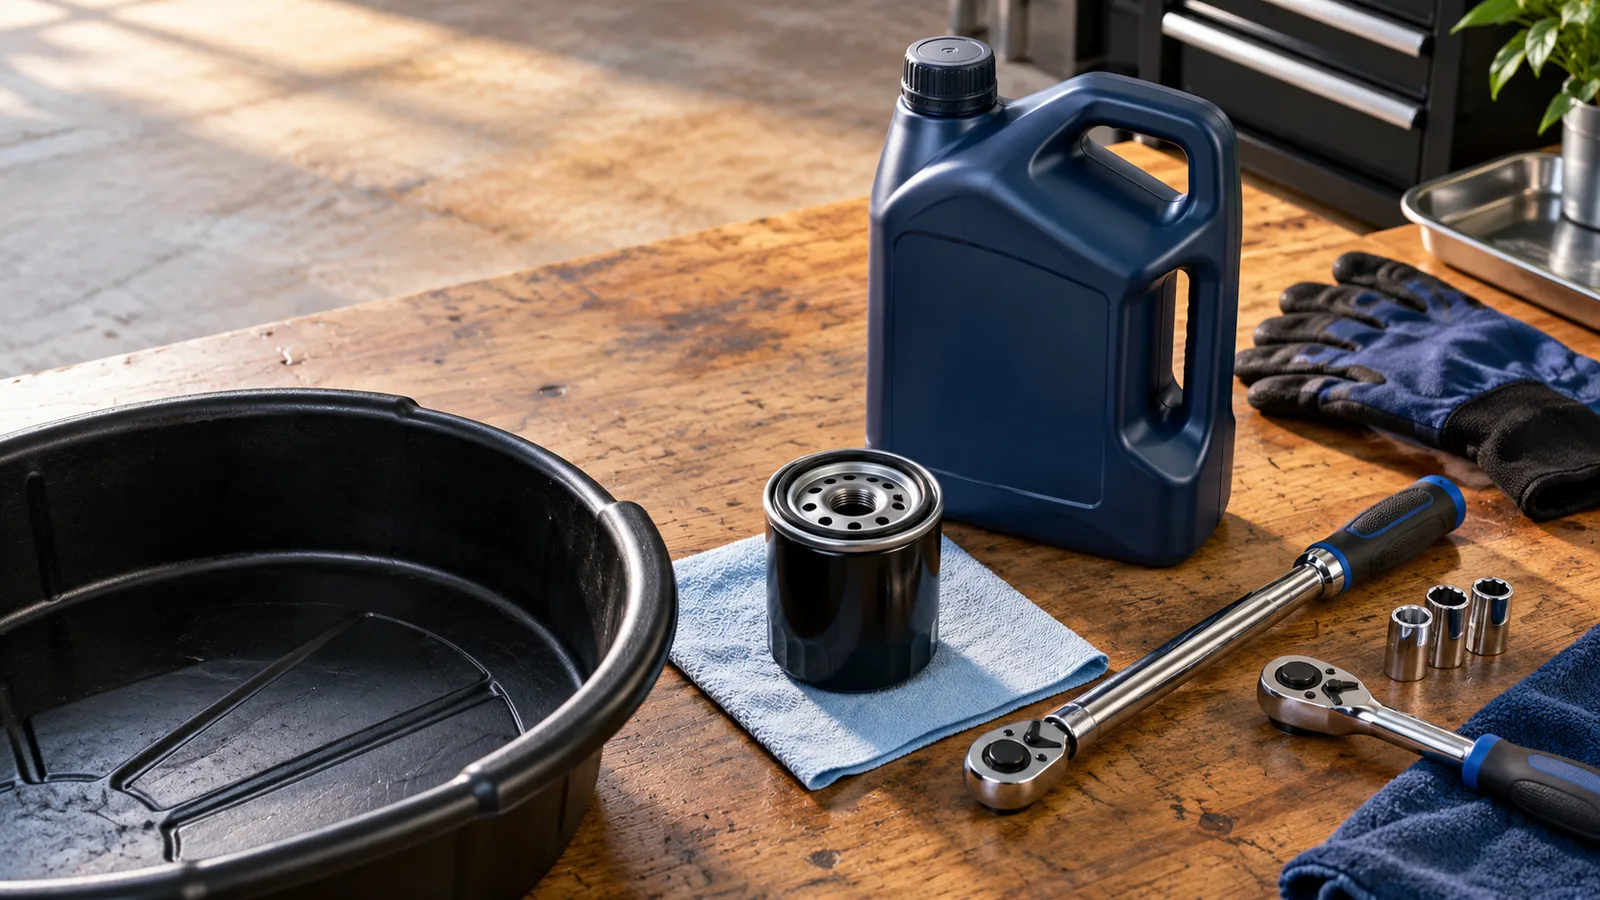
An oil change replaces contaminated lubricant that protects moving engine parts. The filter collects particles, but it cannot make old oil last forever. Adding fresh oil to a low engine is a top-up; it does not replace scheduled maintenance.
This guide covers a conventional drain-and-refill on four-stroke cars and motorcycles. Two-stroke engines, dry-sump systems, vehicles with multiple drain points, and models requiring special electronic checks need their own procedures. A battery-electric car has no combustion-engine oil change, although other fluids still need attention.
Choose professional service if you cannot identify the correct drain plug, safely support the vehicle, reach the filter, or find reliable specifications. A transmission drain plug can look similar to an engine oil plug. Guessing can leave one system empty and another overfilled.
Before buying parts, note the model year, engine variant, and vehicle identification number. The same model name may cover several engines with different capacities and filters. Use the manual for your exact version and market.
Safety note: These are general instructions. Your owner's manual and service information control the procedure, support points, oil choice, and torque settings. Stop if you lack the equipment or a safe place to work.
2. Choose the correct oil grade and specification
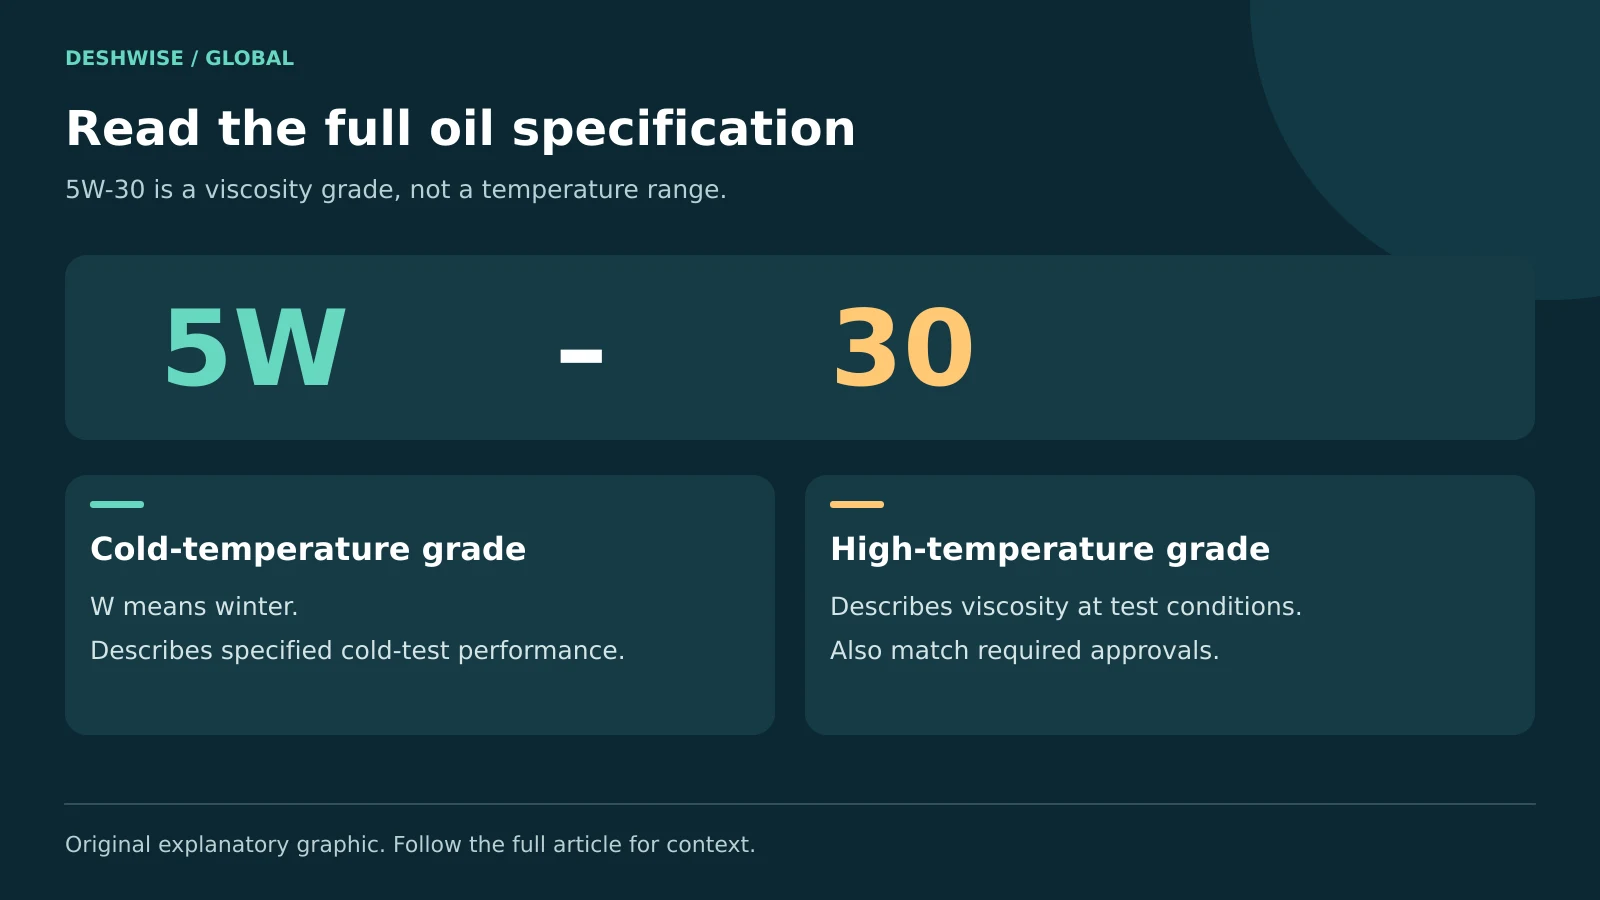
What does 5W-30 mean?
The label describes a viscosity grade: how the oil behaves under specified cold and hot test conditions. The “W” means winter. The first part relates to low-temperature performance; the second describes the high-temperature viscosity grade. Mobil’s oil FAQ explains why a higher viscosity is not automatically better.
It does not mean the oil is suitable only between 5°C and 30°C. Nor does a higher number automatically mean better protection. An engine designed for a particular grade may rely on that oil for lubrication and hydraulic systems.
Check more than the large number on the bottle. Depending on the engine, the manual may also specify an API category, an ACEA sequence, or a vehicle maker's approval. Diesel exhaust-treatment systems can require particular formulations.
Synthetic vs conventional oil
| Oil type | What it means for your decision | What to verify |
|---|---|---|
| Conventional or mineral | May suit engines that permit it | Correct grade and performance specification |
| Synthetic blend | Mix of base-oil types; performance varies | Required approvals on the actual product |
| Full synthetic | Often specified for demanding engine designs | Compatibility and the normal service schedule |
| Motorcycle-specific | Can address shared engine, gearbox, and clutch needs | Required JASO classification and viscosity |
Use synthetic when the manufacturer requires it. Do not extend the service interval merely because a bottle says “long life.” The vehicle's approved schedule still matters.
For a motorcycle with a wet clutch, check whether JASO MA or MA2 is specified. Some scooters require a different classification, such as MB. Car oil with friction modifiers may be unsuitable for some shared-sump motorcycles. Match the actual manual instead of assuming all bike oils are interchangeable.
3. Gather the tools and plan the whole job
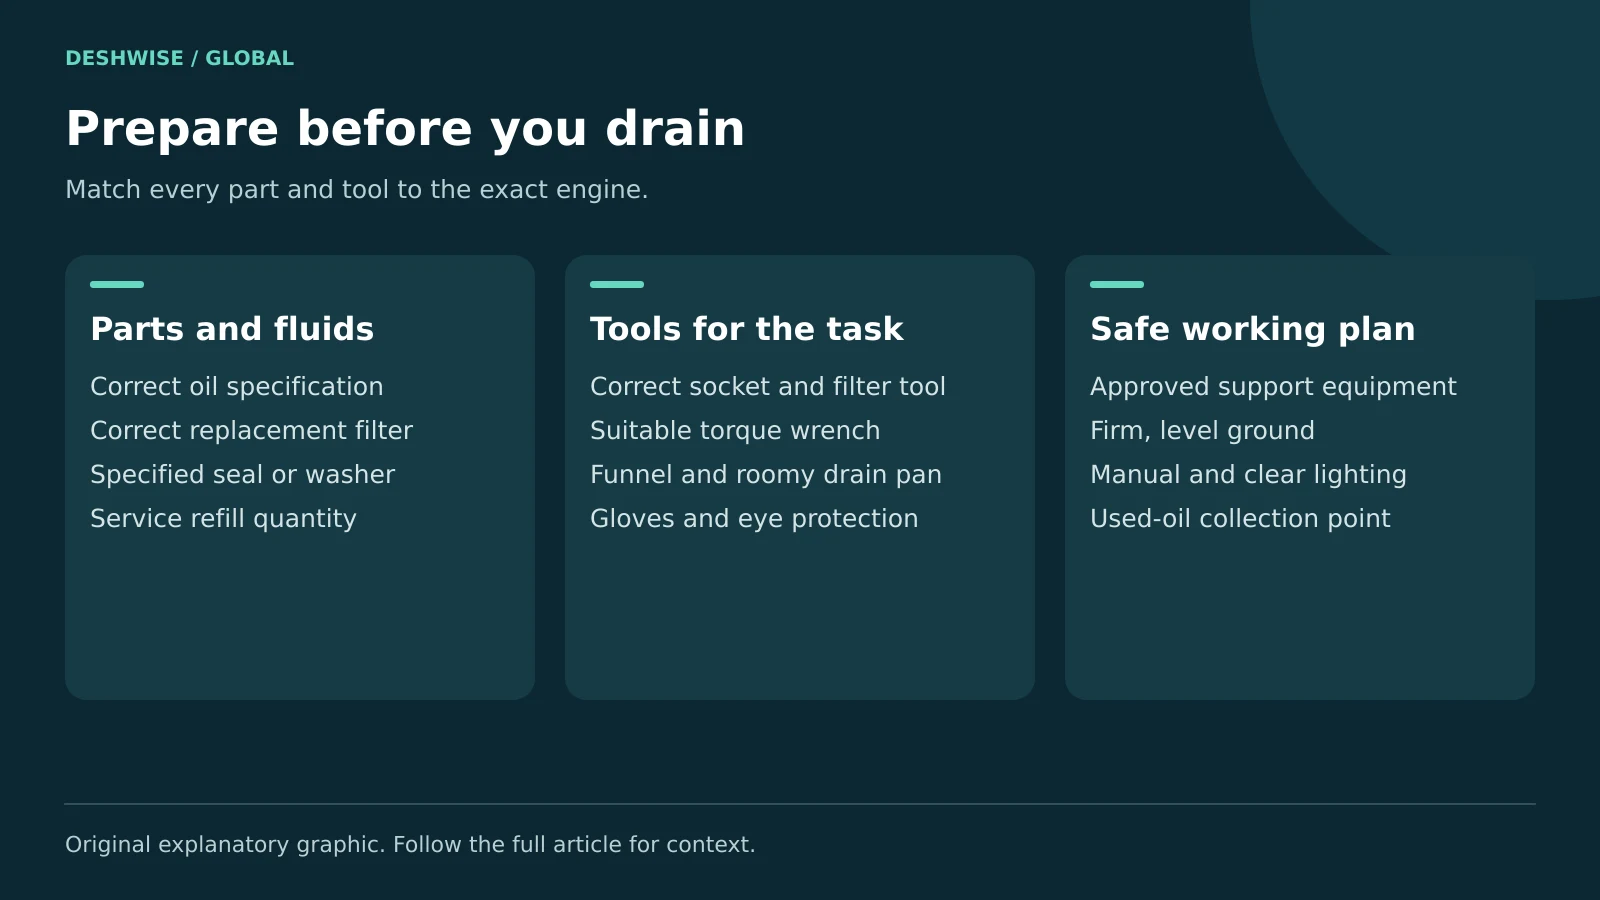
Set out your oil change tools before removing anything:
- Correct oil, with enough for the specified service refill.
- Correct filter, replacement O-rings, and specified drain washer or plug.
- A drain pan with spare capacity and a closable transport container.
- Correct sockets, a filter tool, and a suitable torque wrench.
- Funnel, protective gloves, eye protection, absorbent material, and cloths.
- Rated ramps or a jack and rated stands if lifting is necessary.
- Wheel chocks, good lighting, and the vehicle's service instructions.
Choose a torque wrench whose working range includes the specified setting. A large wheel-nut wrench may be poorly suited to a small motorcycle drain plug. Read units carefully: newton-metres, pound-feet, and pound-inches are different.
Check engine oil capacity for a change with filter, rather than the larger dry-engine capacity. Measure by the markings on the container, then finish by checking the actual level. One US liquid quart is about 0.946 litres; an imperial quart is about 1.136 litres.
Find a used-oil collection point before starting. Ask whether it accepts filters and oily cleanup material. Also check whether your driveway, lease, or shared parking area permits maintenance. A complete plan includes cleanup and transport, not just draining.
Allow unhurried time and a backup transport option. A stuck filter can turn a simple task into an unfinished vehicle.
4. Prepare the car or bike safely
Park on firm, level ground, away from traffic. Keep children and pets away. Use the parking brake and transmission setting specified for safe parking, and chock appropriate wheels.
Warm oil may drain more easily, but hot oil and exhaust parts can burn. Follow the manual's temperature guidance, switch the engine off, and allow unsafe surfaces to cool. Never run an engine in an enclosed garage.
For hybrids, make sure the vehicle is fully switched off and cannot start its engine automatically. Keep the key away as instructed. Avoid high-voltage components entirely.
Jack safety
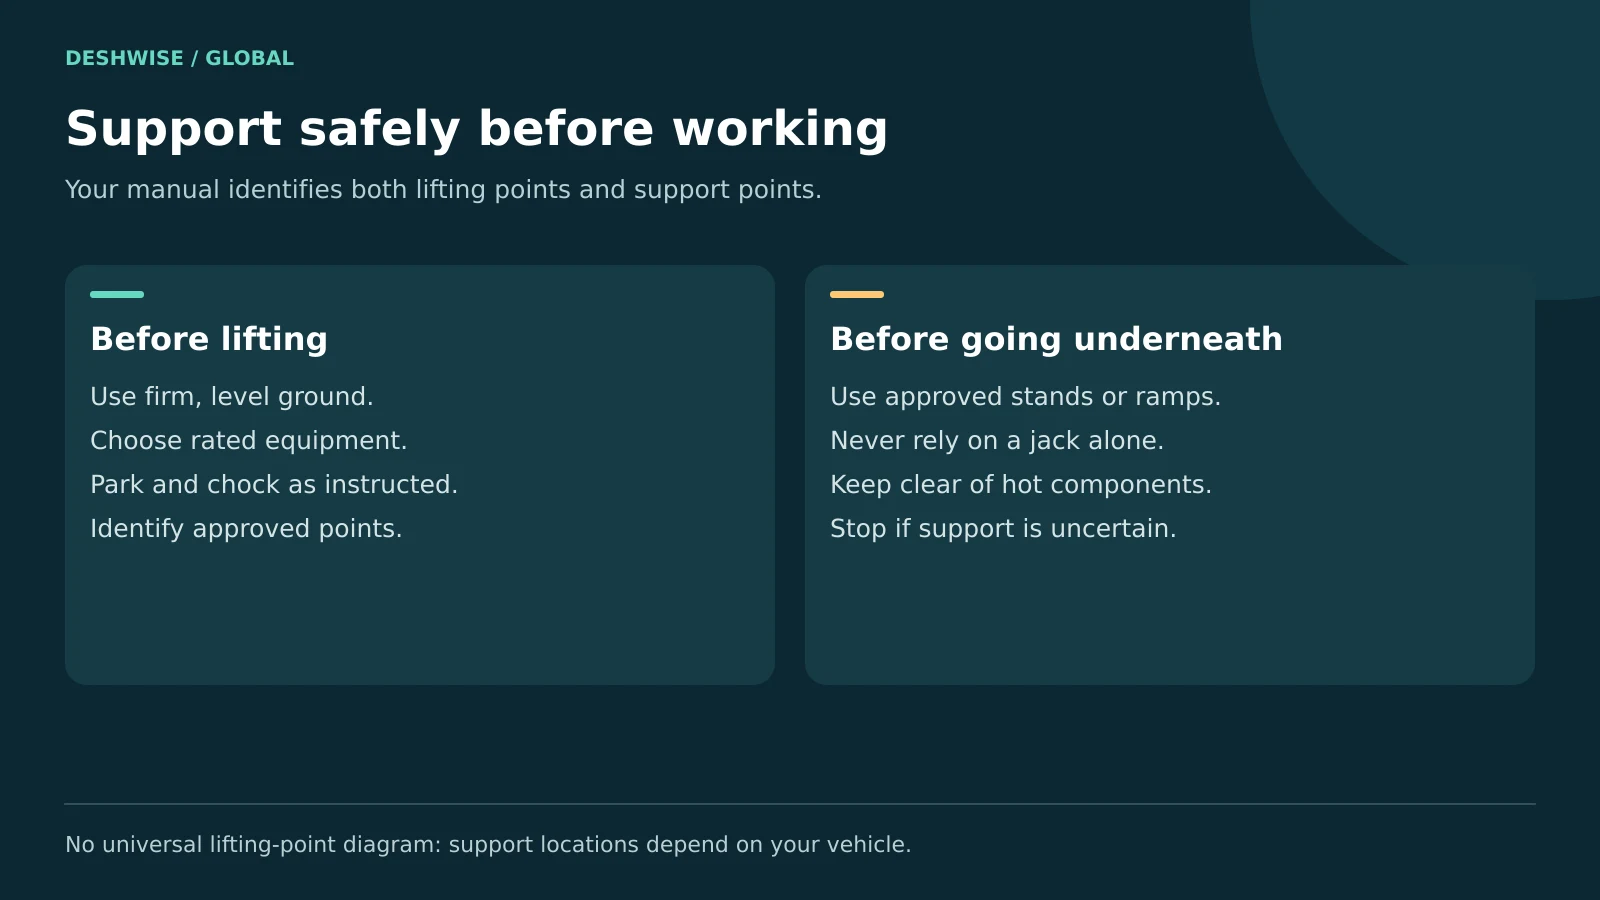
If lifting is necessary, identify both lifting and support points from the manual. They are not always the same. Use equipment suitable for the vehicle's weight and follow its instructions.
Never crawl beneath a car held only by a hydraulic jack or emergency jack. Do not use bricks, loose timber stacks, or unapproved suspension points as supports. If safe support is uncertain, use a workshop. The UK Health and Safety Executive also explains the risks of incorrectly supported vehicles.
For motorcycles, use the specified stand or support arrangement. A paddock stand is not automatically suitable for every bike or task. Do not balance the motorcycle while loosening a tight plug. Final oil-level measurement may require a different position from the draining position.
5. How to Change Oil in a car step by step
Step 1: Locate and verify the service points
Find the oil filler, engine drain plug, and filter. Compare them with the manual's diagram before loosening anything. Remove the undertray or access panel only as instructed, keeping clips and fasteners together.
Make sure you can open the filler before draining. Clean loose dirt from around service openings. This reduces the chance of grit entering the engine later.
Step 2: Drain the old oil
Position the pan to catch the initial stream, which may flow sideways. Use the correct socket and controlled force to loosen the plug. Keep your face and skin clear as you remove it.
Let the oil drain as instructed. Do not start the engine to push out the remainder. Inspect the plug, threads, and sealing surface. Visible damage needs repair, not extra tightening.
Step 3: Replace the oil filter
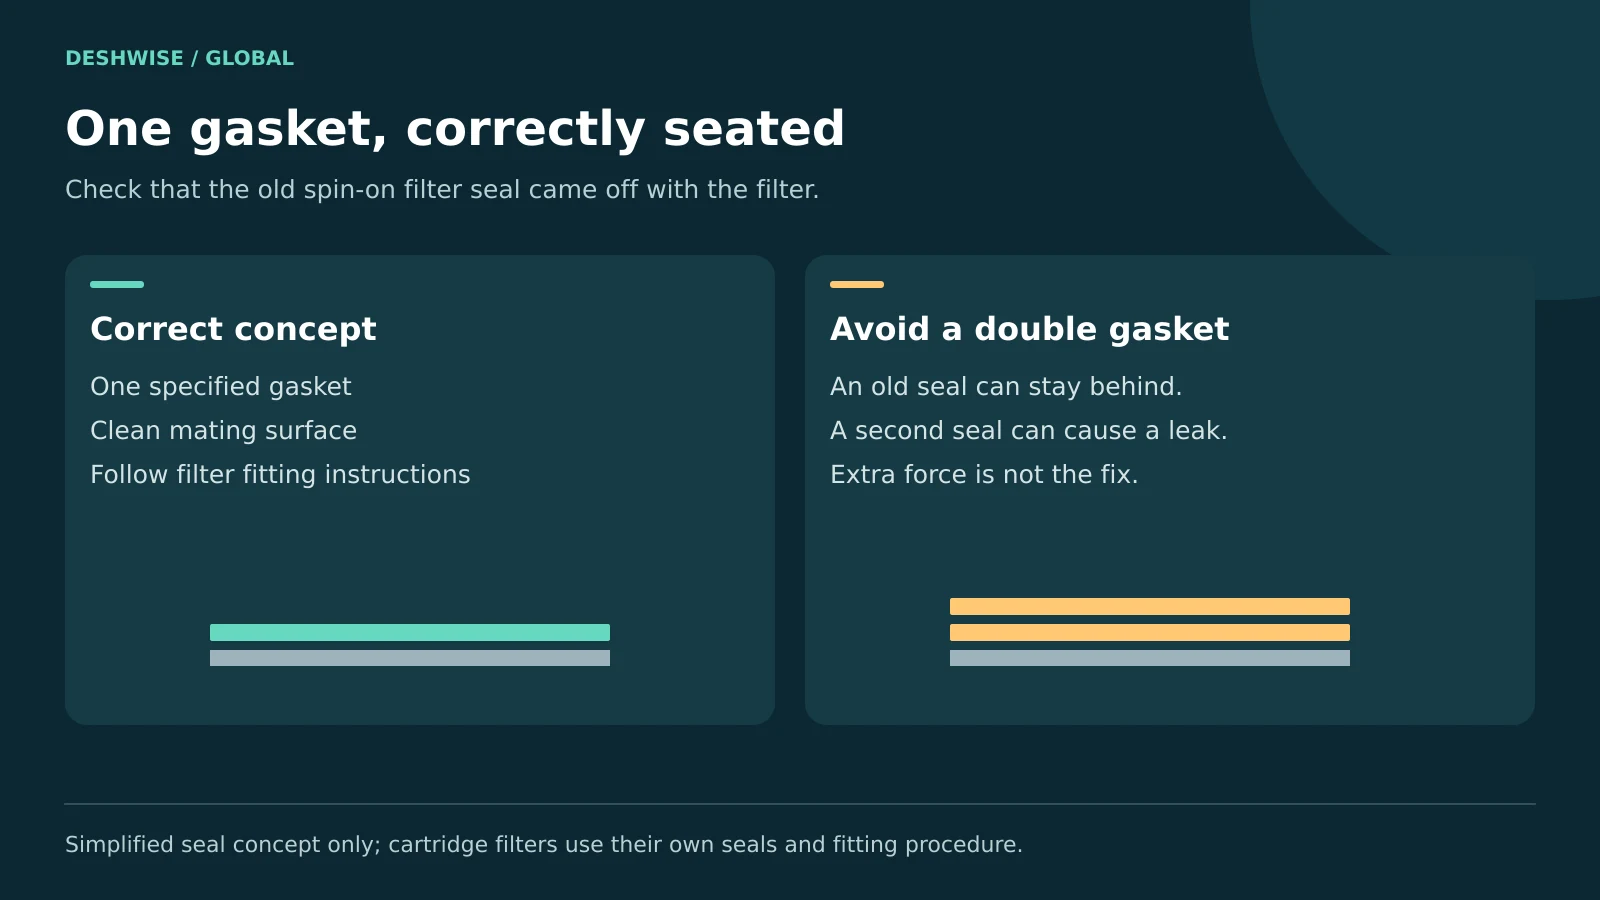
Move the pan under the filter because it also contains oil. Remove the old filter using the correct tool. Confirm that a spin-on filter's old rubber gasket came off with it.
A second gasket left on the engine can cause a serious leak. Clean the mating surface without pushing dirt inside. Follow the new filter's lubrication and tightening instructions; do not assume every filter needs the same fraction of a turn.
For cartridge filters, replace the specified O-rings and place them in the correct grooves. Avoid stretching or twisting them. Tighten a plastic housing only to its stated torque. Pre-filling a filter is model-dependent, so do it only when instructed.
Step 4: Reinstall the drain plug
Fit the specified new washer or replacement plug. Start the threads by hand to avoid cross-threading, then tighten to the manufacturer's value with the correct tool. Do not use an impact wrench.
Step 5: Refill and check
Return the vehicle to the position required for filling, following safe lowering instructions if needed. Add slightly less than the stated service quantity, then check as directed. Refit the filler cap and dipstick before starting.
Run the engine only as specified to circulate oil. Watch the oil-pressure warning. If it does not go out promptly as expected, switch off immediately. Do not continue running to “see if it fixes itself.”
Shut down, wait the stated time, and check the level on level ground. Add small amounts until it sits within the permitted range. Some cars use an electronic measurement with particular temperature conditions. Do not improvise a dipstick procedure for them.
Inspect for leaks safely without going under a running vehicle. Refit access panels and reset the maintenance reminder only after the work is complete.
6. Adapt the process for a motorcycle
A motorcycle oil change follows the same broad sequence, but smaller quantities and exposed parts make details especially important. A small filling error can be a large part of the engine's total oil capacity.
- Confirm the bike's oil grade, clutch compatibility, and service quantity.
- Identify every required drain point and any filter cover, screen, or strainer.
- Secure the motorcycle using the approved support method.
- Drain into a pan and replace specified washers and seals.
- Install the filter in the correct orientation, including any spring or cover parts.
- Refill gradually and perform the manual's circulation and level checks.
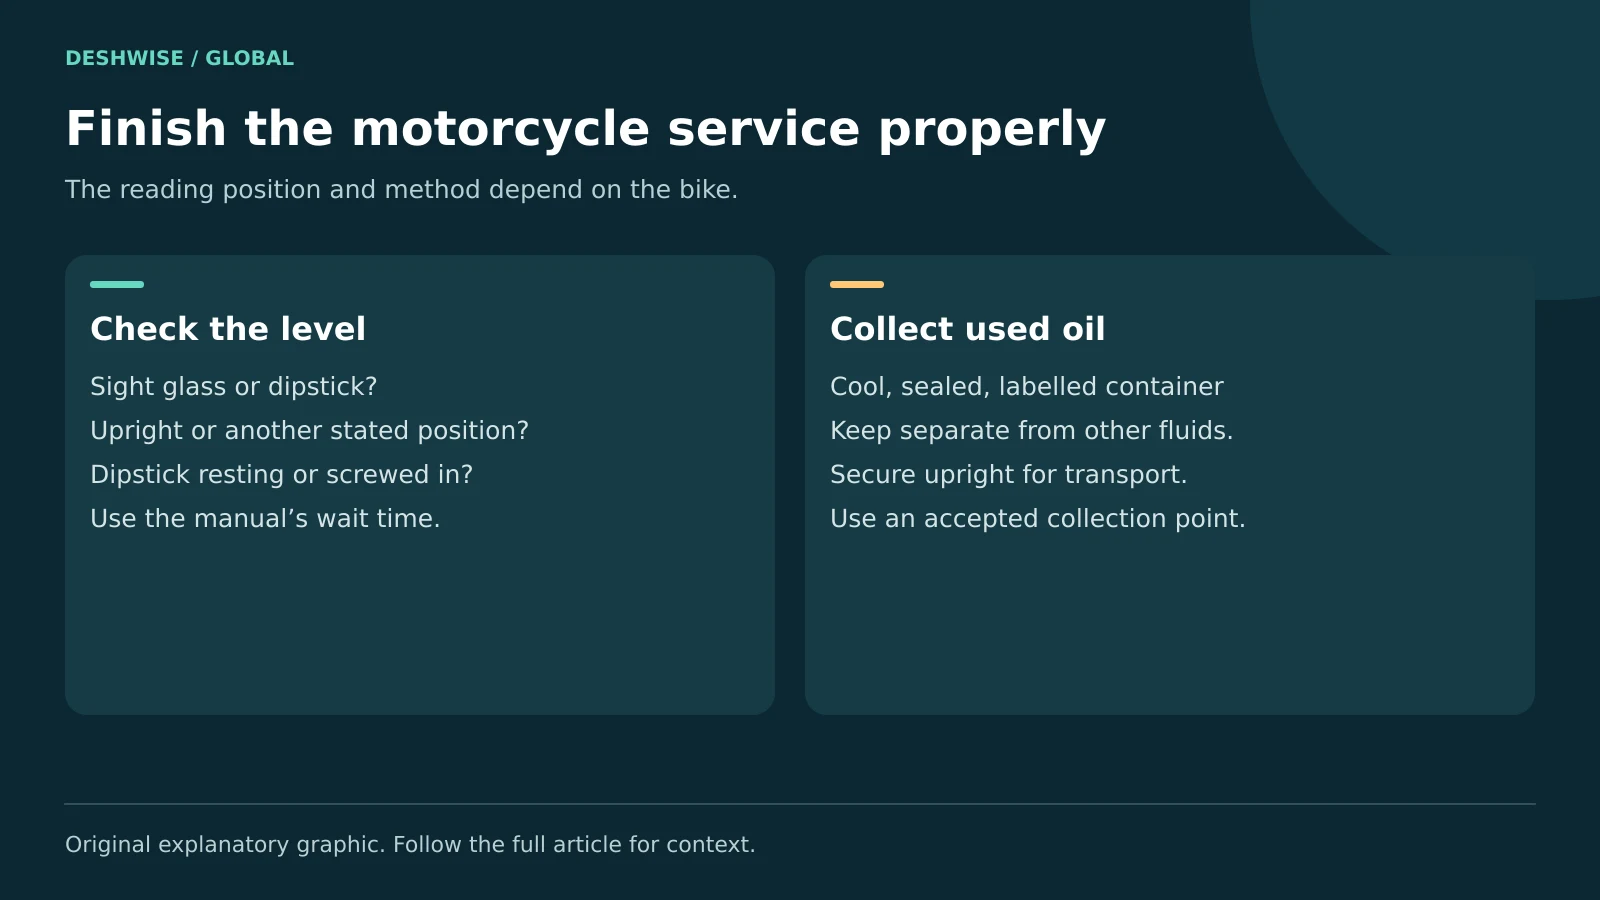
Some engines use a sight glass; others use a dipstick. A dipstick may be read screwed in or resting on its threads. A sight glass may require the bike upright rather than on its side stand. These differences can lead to overfilling if ignored.
Keep oil away from tyres, brake discs, and pads. If friction components become contaminated, get proper repair advice before riding. Wiping the surface may not restore safe braking.
Avoid adjusting unrelated bolts on the engine casing. If a service diagram mentions a screen or centrifugal filter that needs extra dismantling, decide whether it exceeds your skill level before starting.
7. Work out how often to change oil
Use the manufacturer's distance or time limit, whichever comes first, or its approved oil-life system. There is no single interval that fits all cars and motorcycles. The required schedule can differ by engine and market.
Check the severe-use guidance if you make repeated short trips, tow, ride in dusty conditions, or spend long periods idling. The manual defines which conditions matter. Do not assume low annual mileage removes the time limit.
Check engine oil level between services. Consumption and leaks can lower it well before a scheduled change. Follow the manual's checking method each time so readings are comparable.
Record the date, distance in kilometres or miles, oil product, filter part number, and quantity used. Keep receipts and any required service records. A useful maintenance log prevents both missed services and needless early changes.
Dark oil alone does not prove that a change is overdue, especially in a diesel. Equally, clean-looking oil does not prove that its additives remain suitable. Follow the schedule and investigate warning signs.
8. Compare DIY cost with a service centre
A meaningful oil change cost comparison needs your engine details and local quotes. Advertised starting prices may exclude the required oil quantity, premium filters, taxes, or waste fees.
Calculate DIY cost as oil + filter + seals + consumables + disposal + tool costs spread over future services. Count your travel and cleanup time too. The first change can cost more when you must buy safe lifting equipment.
For a workshop quote, ask which oil specification and filter are included, how much oil the price covers, and whether labour and taxes are included. Compare independent garages, dealers, and service centres on the same work.
In the US and Canada, check whether quoted quantities use US quarts or litres. UK, European, Australian, and Indian quotes commonly use litres, but packaging and service bundles vary. Confirm the actual unit rather than assuming.
Professional service may make better sense for limited access, warranty documentation, difficult filters, or damaged threads. Saving labour is useful only when the result remains safe and correct.
9. Troubleshoot mistakes and dispose of oil safely
Leaks, overfilling, and warning lights
Fresh drips near the filter or plug need attention before travel. Check safely after shutdown. A damaged seal or thread will not reliably improve if you simply tighten harder.
If the level is above maximum, remove the excess using an approved method before running or driving. If the oil-pressure warning stays on, stop the engine and seek help. A normal oil level does not prove normal oil pressure.
Milky oil, heavy sludge, metal fragments, or a strong fuel smell deserve professional assessment. Do not add a flushing chemical to hide a symptom. Used oil appearance alone cannot diagnose the cause.
Used oil recycling
Let oil cool, then transfer it into a sound, sealed container labelled “used engine oil.” Keep it separate from coolant, fuel, solvents, and brake fluid. Secure it upright during transport.
The US Environmental Protection Agency advises collecting used oil without spills and checking local collection options. Never pour oil onto soil, into drains, or into ordinary water systems. Handle used filters through an accepted local route too.
Outside the US, contact your local council, municipal waste authority, authorised recycler, or workshop. Acceptance rules vary. Ask before leaving containers, and never assume a garage must take them.
10. Frequently asked questions
Can I change oil without changing the filter?
Follow your vehicle's service schedule for both oil and filter. Many cars call for a new filter with each oil change, while some motorcycles use different arrangements or intervals. Reusing a filter when replacement is due leaves old material in the system and reduces the value of the service.
How much oil should I put in my engine?
Use the service refill capacity for your exact engine, including whether the filter is being replaced. Add gradually and confirm the level with the specified dipstick, sight-glass, or electronic procedure. Never assume the entire bottle belongs in the engine, or use a dry-engine capacity as the normal refill amount.
Can I use car engine oil in a motorcycle?
Only use an oil that meets the motorcycle manufacturer's complete specification. Some bikes share oil between the engine, gearbox, and wet clutch, so an unsuitable car oil can affect clutch operation. Check viscosity and the required JASO classification. Scooters and motorcycles do not all need the same formulation.
Should the engine be hot or cold when changing oil?
Follow the manual's temperature guidance. Mildly warm oil may drain more easily, but recently driven engines, exhaust parts, and oil can cause burns. Allow unsafe parts to cool before working. Do not use a fixed warm-up time from a general guide as proof that every vehicle is safe to touch.
How tight should I make the oil drain plug?
Use the manufacturer's specified torque for that exact plug and oil pan, with the correct seal or washer. There is no safe universal value. Start the threads by hand and use a suitable torque wrench. Extra force can strip threads, crack components, or crush a seal without fixing a leak.
Can I drive with the oil light on after an oil change?
If the oil-pressure warning remains on after starting, switch the engine off promptly and investigate before driving. Check the level and look for leaks, but remember that level and pressure are different. A maintenance reminder is a separate indicator; identify the symbol using the manual rather than guessing.
11. Your next step
Learning how to change oil starts with identifying your exact vehicle and reading its service instructions. Gather the right parts, arrange safe support and recycling, and book professional help if any step remains uncertain. A correct level, secure seals, and a clean leak check matter more than finishing quickly.